使用uv指令进行python包管理
1. uv是什么
uv是开发ruff的公司Astral发布的高性能Python工具,用途是安装python包,以及解析包版本之间的依赖,用于替代现有的pip, pip-tools, pipx, poetry, pyenv, twine, virtualenv等工具。它的最大特点是快,相比现有的的pip工具都能够快10-100倍。发布uv的愿景,是希望构造类似Rust的cargo,快速、可依赖,易用的包管理工具。
2. uv安装与使用
2.1 安装
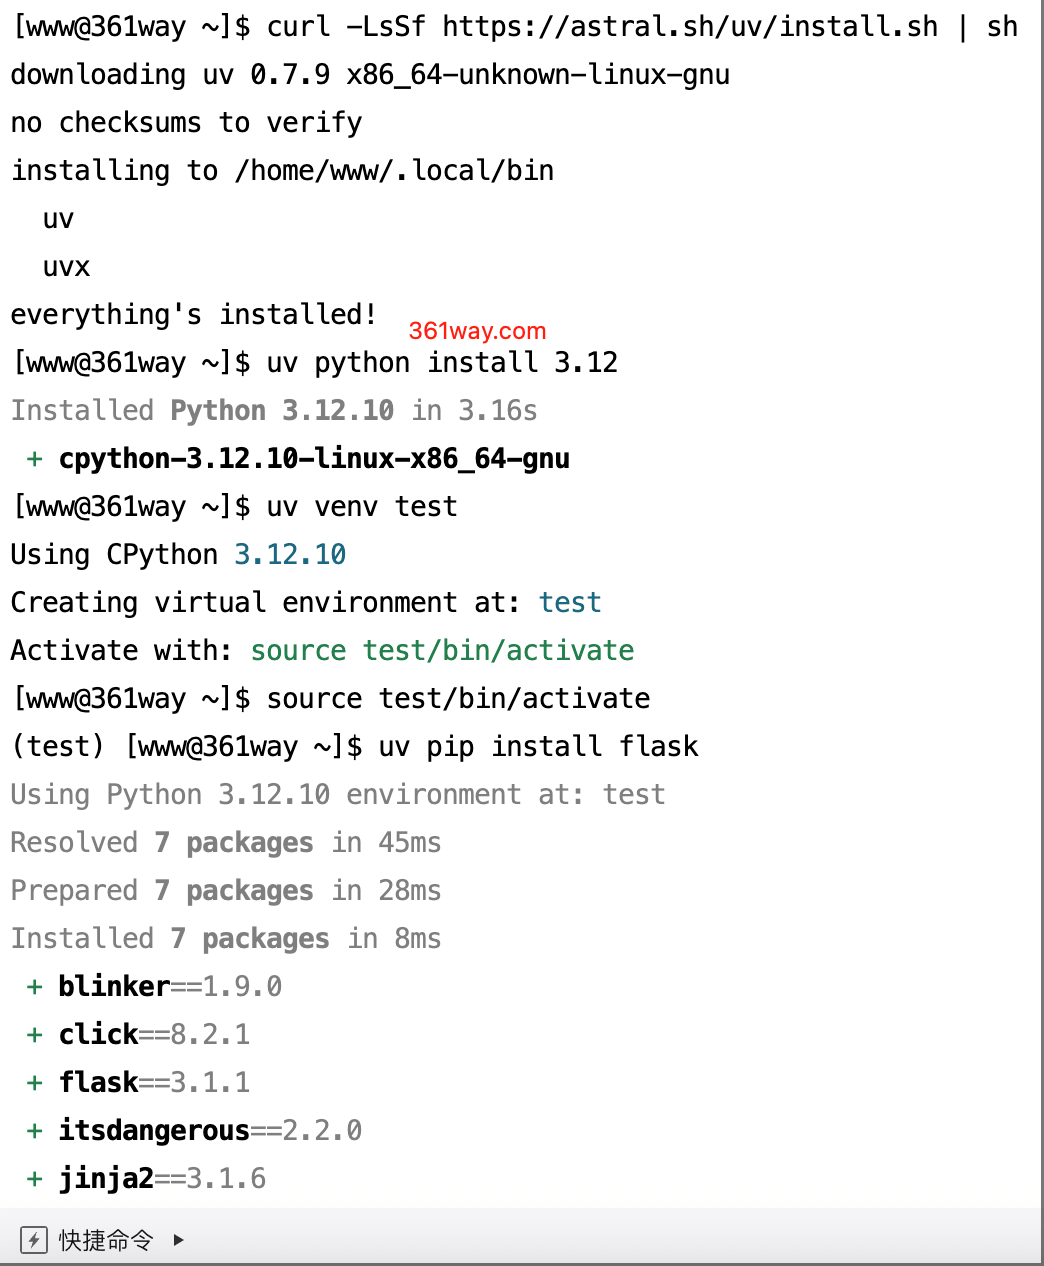
uv本身只是一个Rust编写的cli工具,发布到了pypi平台和各种系统的包管理器中。可以用pip来安装uv,这是安装uv最简单最通用的方式,基本上适用于所有Python场景。即使是在venv环境中安装的,uv也会复制自己的可执行文件也会被复制到系统的PATH目录中,保证退出或切换虚拟环境后,uv命令依然能够正常使用。uv还支持别的很多种安装方式,这里也列出来供参考:
 1
 2
 3
 4
 5
 6
 7
 8
 9
10
11
12
13
14 | # 直接下载安装脚本,支持 macOS和Linux.
curl -LsSf https://astral.sh/uv/install.sh | sh
# On Windows.
powershell -c "irm https://astral.sh/uv/install.ps1 | iex"
# With pipx.
pipx install uv
# With Homebrew.
brew install uv
# With Pacman.
pacman -S uv
|
不过需要注意一个问题:像apt、brew这些包管理器中的uv可能不是最新的,而旧版本的uv可能会有潜在的问题。例如我用brew安装的uv 0.1.8版本在安装tensorflow时会卡住并超时,报下面的错误:
| error: Failed to download distributions
Caused by: Failed to fetch wheel: grpcio==1.62.1
Caused by: Failed to extract source distribution
Caused by: request or response body error: operation timed out
Caused by: operation timed out
|
如果出现这个错误,试试更新uv到最新版,并建议用pip来安装uv。
2.2 uv help-查看帮助
在安装好uv后,就可以一步步地开始uv命令的探索。uv的命令不算多,而且有比较好的命令说明,如果想详细了解uv的所有命令和子命令以及命令行参数,可以按照下面的命令来依次探索:
| uv --help
uv pip --help
uv pip install --help
|
下面我将比较重要的uv命令进行列举,并做简单的解释。
2.3 uv venv-创建环境
创建环境:
| # 创建虚拟环境,不加环境路径的话默认是保存在当前的.venv目录下
uv venv
# 指定环境保存目录
uv venv /path/to/venv
# 指定Python版本,注意需要对应版本的Python已经安装
uv venv -p 3.12
# --python 同 -p
uv venv --python 3.12
|
注意:uv工具不会自动下载Python包,因此如果设置-p时指定系统不存在的Python版本,则会报下面的错:
| $ uv venv -p 3.13
No Python 3.13 In `PATH`. Is Python 3.13 installed?
|
启用环境的命令同Python的标准库venv:
| # Unix
source venv/bin/activate
# Windows
venv\Scripts\activate
|
2.4 uv pip install-安装包
安装包的命令是uv pip install,很好记,在普通的pip install 前面加一个uv,而且大部分pip install 的参数都支持:
1
2
3
4
5
6
7
8
9
10
11
12
13
14
15
16
17 | # 从 pypi上安装包,默认安装最新版本
uv pip install flask
# 从镜像网站上拉取安装包
uv pip install flask -i https://pypi.tuna.tsinghua.edu.cn/simple
# 更新包版本
uv pip install -U flask
# 安装特定版本的包:
uv pip install -U flask==3.0.0
# 从当前目录安装
uv pip install .
# 从当前目录安装,并且支持editable实时更新代码模式
uv pip install -e .
|
一个非常重要的点:uv 默认不会读pip.conf这种类型的镜像配置,因此在国内的话,包的默认下载速度是比较慢的,需要手动加--index-url/-i和-extra-index-url,才能达到比较快的下载速度。
卸载包:
注意:与pip不同,uv pip uninstall时默认不会让你再确认一遍。
2.5 uv pip compile-查看包依赖
uv pip compile 可以将pip-tools工作流中的requirements.in格式的没有精确依赖库版本的文件转换为包含精确依赖库版本requirements.txt的工具,也可以处理任意包含python包的txt文件,比如我们有下面的文件my_packages.txt利用uv pip compile就能得到精确的版本:
| uv pip compile my_packages.txt
|
注意不需要安装my_packages.txt中的包,也就是说,我们可以将任意的python包列在my_packages.txt中,来查看安装他们需要依赖哪些库。 举个好玩的例子,试试安装下载量前20的python包都会有哪些依赖:
1
2
3
4
5
6
7
8
9
10
11
12
13
14
15
16
17
18
19
20 | boto3
botocore
urllib3
requests
wheel
certifi
typing-extensions
charset-normalizer
setuptools
idna
pip
python-dateutil
packaging
s3transfer
aiobotocore
six
pyyaml
s3fs
numpy
cryptography
|
将结果写入到文件:
| uv pip compile --no-annotate my_packages.txt -o requirements.txt
|
输出requirements.txt内容:
 1
 2
 3
 4
 5
 6
 7
 8
 9
10
11
12
13
14
15
16
17
18
19
20
21
22
23
24
25
26
27
28
29
30
31
32 | aiobotocore==2.12.1
aiohttp==3.9.3
aioitertools==0.11.0
aiosignal==1.3.1
attrs==23.2.0
boto3==1.34.51
botocore==1.34.51
certifi==2024.2.2
cffi==1.16.0
charset-normalizer==3.3.2
cryptography==42.0.5
frozenlist==1.4.1
fsspec==2024.3.1
idna==3.6
jmespath==1.0.1
multidict==6.0.5
numpy==1.26.4
packaging==24.0
pip==24.0
pycparser==2.22
python-dateutil==2.9.0.post0
pyyaml==6.0.1
requests==2.31.0
s3fs==2024.3.1
s3transfer==0.10.1
setuptools==69.2.0
six==1.16.0
typing-extensions==4.10.0
urllib3==2.0.7
wheel==0.43.0
wrapt==1.16.0
yarl==1.9.4
|
32个依赖,也就是说安装下载量前20的Python包,包括它们自己,只需要安装32个包。
可以通过echo <package_name>| uv pip compile - 的方式查找某个包的依赖。 我们来看看安装tensorflow需要哪些依赖:
| echo tensorflow | uv pip compile --no-annotate -
|
就会生成下面的输出:
1
2
3
4
5
6
7
8
9
10
11
12
13
14
15
16
17
18
19
20
21
22
23
24
25
26
27
28
29
30
31
32
33
34
35
36
37
38 | absl-py==2.1.0
astunparse==1.6.3
certifi==2024.2.2
charset-normalizer==3.3.2
flatbuffers==24.3.25
gast==0.5.4
google-pasta==0.2.0
grpcio==1.62.1
h5py==3.10.0
idna==3.6
keras==3.1.1
libclang==18.1.1
markdown==3.6
markdown-it-py==3.0.0
markupsafe==2.1.5
mdurl==0.1.2
ml-dtypes==0.3.2
namex==0.0.7
numpy==1.26.4
opt-einsum==3.3.0
optree==0.11.0
packaging==24.0
protobuf==4.25.3
pygments==2.17.2
requests==2.31.0
rich==13.7.1
setuptools==69.2.0
six==1.16.0
tensorboard==2.16.2
tensorboard-data-server==0.7.2
tensorflow==2.16.1
tensorflow-io-gcs-filesystem==0.36.0
termcolor==2.4.0
typing-extensions==4.10.0
urllib3==2.0.7
werkzeug==3.0.1
wheel==0.43.0
wrapt==1.16.0
|
包含38个依赖,比下载量前20的包的总的依赖还要多……
2.6 uv pip sync-更新当前环境的包版本
利用uv pip compile,可以方便地将当前环境所有安装的包以及它们的依赖的版本都导出到requirements.txt中,然后在别的机器上快速复现同样的安装环境:
| uv pip freeze |uv pip compile - -o requirements.txt
|
拿到requirements.txt后,就可以用uv pip sync命令来将其中的版本信息更新到当前的 虚拟环境:
| uv pip sync requirements.txt
|
但需要注意一点,uv的requirements.txt并不是跨平台的,也就是Windows上的requirements.txt 并不适用于Linux环境,反之亦然。
例如,同样是tensorflow==2.16.1版本,macOS和Linux的依赖库就有2个不同(macOS vs Linux):
| tensorboard==2.16.2
tensorboard-data-server==0.7.2
tensorflow==2.16.1
-tensorflow-io-gcs-filesystem==0.36.0
termcolor==2.4.0
typing-extensions==4.10.0
-urllib3==2.0.7
+urllib3==2.2.1
werkzeug==3.0.1
wheel==0.43.0
wrapt==1.16.0
|
因此最好还是在相同的操作系统之间执行uv pip sync,不同操作系统之间可能需要手动修改requirements.txt。
2.7 uv cache-缓存
uv有一个顶级命令uv cache,用于cache的管理。
首先类似pip cache dir ,uv也有一个cache dir命令来查看缓存目录:
| $ uv cache dir
/home/gitpod/.cache/uv
|
注意不同系统的默认cache目录是不同的,我的观察是: + Linux: $HOME/.cache/uv + macOS: /Users/<user>/Library/Caches/uv + Windows: C:/Users/<user>/AppData/Local/uv/cache
当然是可以修改cache目录的,指定UV_CACHE_DIR 环境变量就可以。
然后可以用uv cache prune 清除没有用到的缓存数据,比如删除包后,可以用此命令来清除空间。
最后可以彻底地删除cache,命令为uv cache clean,整个cache目录都会被清除掉:
| $ uv cache clean
Clearing cache at: /home/gitpod/.cache/uv
Removed 78 files (16.7MiB)
|
2.8 环境变量
UV支持一些环境变量的设置,例如缓存目录,index-url等,常见的包括下面这些,这些环境变量可以临时使用,不过建议时加入到你的shell到配置文件,就不用每次都敲一遍。可以复制下面的代码到.bashrc中然后修改对应的变量
1
2
3
4
5
6
7
8
9
10
11
12
13
14 | # 缓存目录
export UV_CACHE_DIR=/path/to/cache/dir
# 镜像地址
export UV_INDEX_URL=https://pypi.tuna.tsinghua.edu.cn/simple
# 额外镜像地址
export EXTRA_INDEX_URL=https://pypi.tuna.tsinghua.edu.cn/simple
# 不用缓存
export UV_NO_CACHE=0
# 下载包时的超时时间,单位为秒
UV_HTTP_TIMEOUT=60
|
3. uv 速度测试
为了测试uv是否能加速python包的安装,测试流程如下:
1. 新建环境
2. 启用虚拟环境
3. 清除缓存
4. 安装对应的包
macOS和Linux下,用下面的命令进行测速:
| time (uv pip venv venv_1 && source venv_1/bin/activate && uv pip install <package>)
|
Windows下,用Powershell,用下面的命令测速:
| Measure-Command {python -m venv venv_1; venv_1\Scripts\activate; pip install <package>}
|
另外国内机器测速可以使用清华Pypi源来进行加速。
捐赠本站(Donate)

如您感觉文章有用,可扫码捐赠本站!(If the article useful, you can scan the QR code to donate))